Photographs, scripts and other things
  • Home
  • 2015
    • Smoke
    • The Moon!
    • London Street Art
    • Wilko Johnson
  • 2014
    • Namibia
  • 2013
    • Laos
  • 2012
    • Oxford
    • Belize and Guatemala
    • Cambridge Fireworks
  • 2011
    • Burma
    • Shuttleworth airshow
  • 2010
    • Madagascar
    • Cats
  • 2009
  • 2008
    • South Africa
  • Blog

Using PowerShell Watermark images

12/1/2013

2 Comments

 
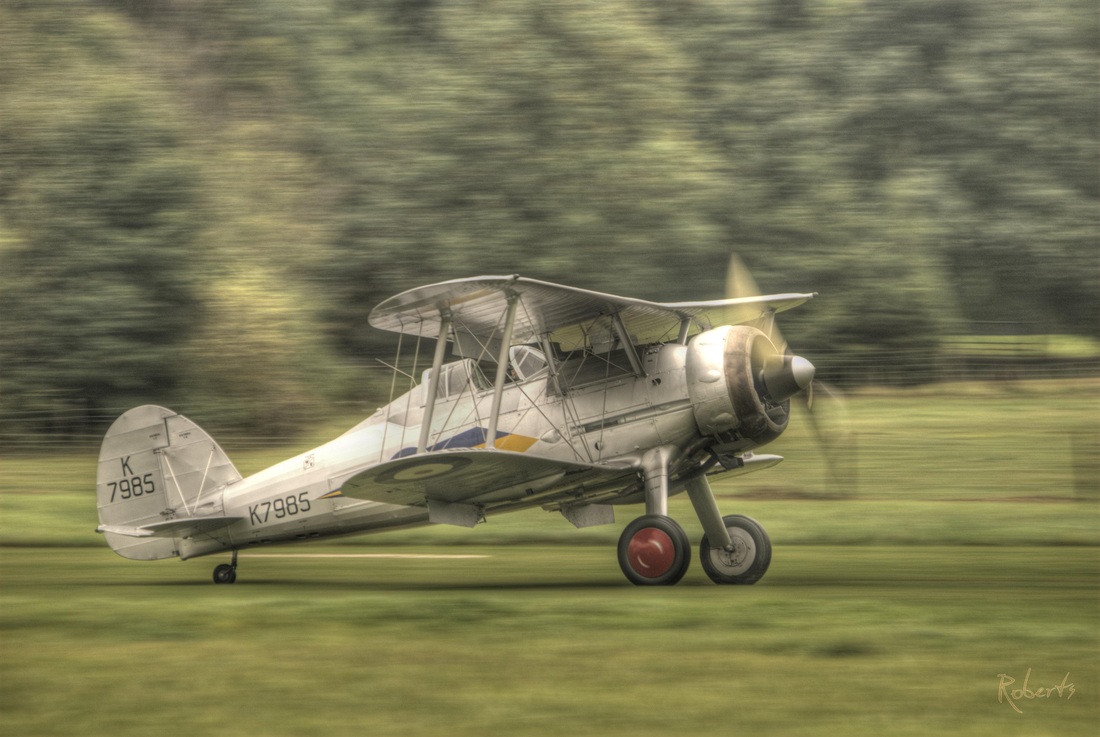
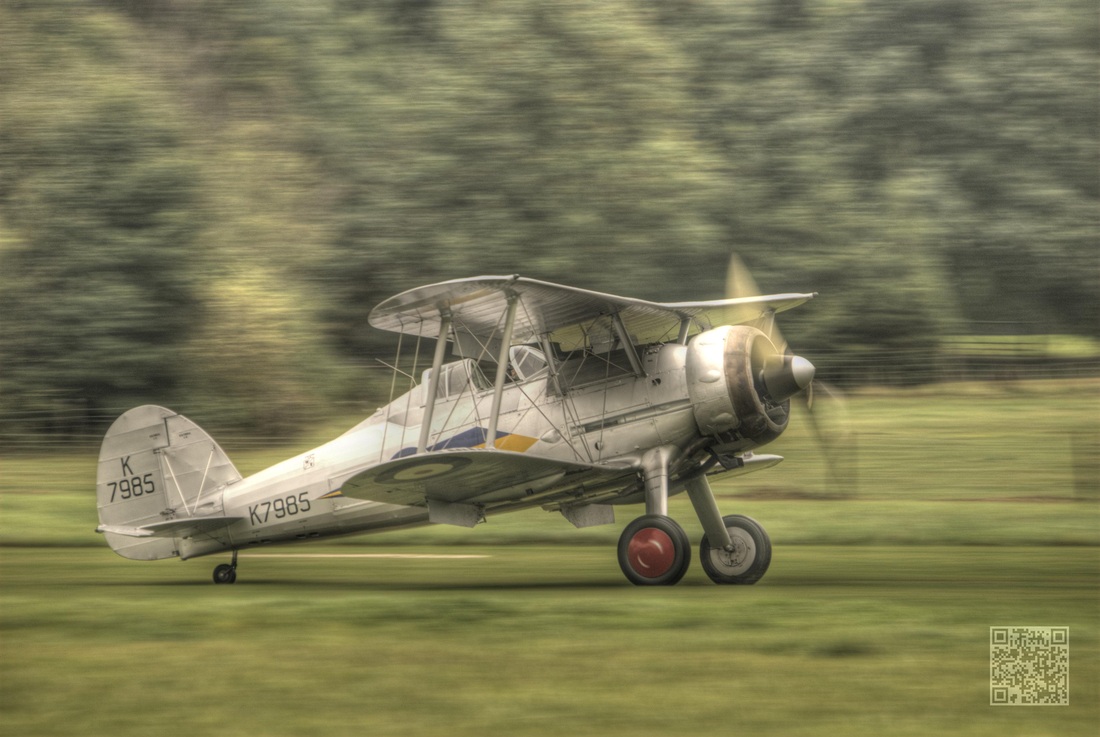
One of my favorite tricks is to add a graphical water mark to an image, this PowerShell script by Matthew Painter does a good job of it.

Write-ImageWaterMark -watermark "c:\sig.png -SourceImage "c:\source.png" -TargetImage "c:\newimage.jpg" 

It's a pretty easy job to make it run for all files in a directory.
Picture
To add a signature or even a QRCode (although the background will have a large impact on the readability of the code).

Picture
2 Comments

Powershell, Exif and Photomatix - basic HDR batch processing script

11/1/2013

1 Comment

 
One of the tasks I've been meaning to do for a while was automate running Photomatix. For those who don't know Photomatix's is a really cool bit of software that allows you to do HDR pictures. While good fun to use to see what you can create, I often find I can while away the day just doing this..... 

To get round this I want to run a script to process my files as a quick'n'dirty first pass, so I can see what I've got to work with.  In the last post we talked about using the PowerShell Exif Image module from James O'Neill. This time I'm going to use it to read the Exposure Bias from the Exif JPG data.  Mostly when I'm doing HDR pictures I use 0, -2, 2 as the bracket so I'm going to use that as the step (the script will actually let you specify this).

You can get the file here
hdrbatch.ps1
File Size: 2 kb
File Type: ps1
Download File

Or view the code 
#####################################################
#
# List the exposure bias
# NBR V 1.00# http://nrobertsphotography.weebly.com/blog.html
#
# Ref : 
# http://archive.msdn.microsoft.com/PSImage/    - Image library
# -path "C:\Users\std\Pictures\Weebly\Demo" -target "C:\Users\std\Pictures\Weebly\Demo\Output" -expStep "2"
#
#####################################################

Param ( 
[Parameter( 
ValueFromPipeline=$False, 
Mandatory=$True, 
HelpMessage="A path to original image")] 
[string]$path = "C:\Pictures\Weebly\Demo", 

[Parameter( 
ValueFromPipeline=$False, 
Mandatory=$True, 
HelpMessage="A path to target directory")] 
[string]$target = "C:\Pictures\Weebly\Demo\Output",

[Parameter( 
ValueFromPipeline=$False, 
Mandatory=$True, 
HelpMessage="Exposure Step")] 
[string]$expStep = "2"
   )
  
if( $ExifIDExpbias -ne 37380 )
{
Import-Module Image   # Load the image library
}

#$expStep = 2 # Exposure step
$file0 = "" # First file
$fileM = "" # Second File
$fileP = "" # third file
$i = 0 # File counter
$exe = "C:\Program Files\PhotomatixPro4\PhotomatixCL.exe"  # Hardcode in the default location

Function getBias([string] $fileName)
{ 
    $image = get-image $fileName
    $expBias = Get-ExifItem -image $image -ExifID $ExifIDExpbias 
    return $expBias
}

Function initilise()
{

if( !(Test-Path $path))
{
    Write-Host "The Directory $path does not exist"
    end
}

    if( !(Test-Path $target))
    {
        New-Item -ItemType directory -Path $target
        Write-Host "Creating output Directory $target "
    }
}

Function Create-HDR([string]$hdrType, [string]$set)
{
    Set-Location $target

    $allArgs = @($hdrType, "-gn", "-a2", "-ca", "-n 2", "-q $set", $file0, $fileM, $fileP)

    &$exe $allArgs

    Write-Host "Done"
}


Function Main()
{
cls
initilise

# Get files
$files = get-childitem $path -Filter "*.JPG" | Sort-Object Name # Get list of files (Jpg's)

if( $files.Count -eq 0 )
{
    # Quit no files
    Write-Host "There are no files at that path"
    end
}

# enumerate the items array
while( $i -lt $files.Count )
{
    $expBias = getBias $files[$i].FullName
    $file0 = $files[$i].FullName
    # first in set ?
    if( $expBias -eq 0 )
    {
        $expBias = getBias $files[$i+1].FullName
        $fileM = $files[$i+1].FullName
        if( $expBias -eq 0-$expStep )
       {
            $expBias = getBias $files[$i+2].FullName
            $fileP = $files[$i+2].FullName
            if( $expBias -eq $expStep )
            {
                # Winner!
                Write-Host "Set found"
                Write-Host $file0
                Write-Host $fileM
                Write-Host $fileP
                Create-HDR -hdrType "-0" -set 1
                Create-HDR -hdrType "-1" -set 2
                Create-HDR -hdrType "-2" -set 3
                Write-Host "Complete"
            }
        }
    }
     
    $i+=1
}
Write-Host "Processing complete"

}

Main

It's a pretty basic script

1. Get a Name ordered list of files
2. Check to see if blocks of three files have the correct exposure bias : 0, -2, 2
3. Process them using the command line version of the Photomatix tool

To run it from PowerShell

PS> .\HDRBatch.ps1 -path "C:\Pictures\Weebly\Demo" -target "C:\Pictures\Weebly\Demo\Output" -expStep "2"

Before you run the Script 
Back your files up.  It *shouldn't* do anything bad but never take the chance. And remember you take all the responsibility!

There are a stack of things that need upgrading in the script
  1. Logging
  2. More comments
  3. Better help
  4. Create as part of a module
  5. A nicer way to find the file exposure set (it is a bit crude)
  6. Have more files in the bracket set
  7. Error handling - some would be good!
  8. Work through the options in photomatix to see what else it can do
  9. Testing, you can never have to much testing
  10. Rewrite the Function getBias to make it faster


1 Comment

Exif and Powershell

9/1/2013

0 Comments

 
Recently I had reason to want to read the Exif info on a lot of images, obviously you would want to do this in PowerShell.

A quick search finds the following Microsoft page which has a nice PowerShell library that can be used to read the Exif data, follow the instructions and then try this

Get-Exif -image C:\Users\[User Name\Pictures\2012\Oxford\DSC_2290.jpg
This returns the following Exif info

Keywords         : 
Height           : 
Author           : 
Width            : 
Software         :  
Model            : NIKON  
Path             : C:\Users\[User Name]\Pictures\2012\Oxford\DSC_2290.jpg
StarRating       : 
FocalLength      : 11
ExposureMode     : Manual
ExposureProgram  : Manual
DigitalZoomRatio : 1
WhiteBalance     : Manual
FocalLength35mm  : 16
FileSource       : 
SubjectRange     : 
GPS              : 
Title            : 
ISO              : 400
Comment          : 
ExposureBias     : 0
Subject          : 
Copyright        : 
Contrast         : Normal
Sharpness        : Normal
ColorSpace       : 
FNumber          : 2.8
LightSource      : Cloudy Weather
MeteringMode     : Spot
Orientation      : 0
MaxApperture     : 3
Saturation       : Normal
DateTaken        : 26/08/2012 12:28:58
Artist           : 
Manufacturer     : NIKON CORPORATION
Exposuretime     : 0.0008
Flash            : 
CaptureMode      : Standard

Very cool
0 Comments

Locking Windows using an iPhone

7/1/2013

0 Comments

 
If you are anything like me then you probably forget to lock your computer when you walk away from it, in the end I gave up and wrote a PowerShell script to do it for me......
####################################################
#  Lock windows using an iPhone
#
#  NBR : V 1.0.0 : 7/Jan/2013 
#
####################################################
Function Register-SystemEvent
{
    $query = "SELECT * FROM __InstanceDeletionEvent  " +
         "WITHIN 5 " +
         "WHERE TargetInstance ISA 'Win32_PnPEntity' " +
         "AND TargetInstance.Name = 'Apple iPhone' "

    $null = Register-WmiEvent -Query $query -SourceIdentifier iPhoneLock -Action { c:\Windows\System32\rundll32.exe user32.dll,LockWorkStation }
}

Function main
{
    Register-SystemEvent
}


main
Run the script on start up (or from a shortcut on your desktop - which is safer....), this registers the event with windows.  Now unplug your iPhone before you walk away - simple really.

You could quite easily change the script to pick up any other type of phone, to get the TargetInstance.Name required try this (run it line by line)
$data1 = gwmi Win32_USBControllerDevice |% { [wmi] $_.Dependent } 
$data2= gwmi Win32_USBControllerDevice |% { [wmi] $_.Dependent } 
Compare-Object $data1 $data2 -PassThru
My HTC HD returns the following (cut down)
Manufacturer                : Compatible USB storage device
Name                        : USB Mass Storage Device
SystemCreationClassName     : Win32_ComputerSystem
Caption                     : HTC Android Phone USB Device
ErrorCleared                : 
ErrorDescription            : 
HardwareID                  : {USBSTOR\DiskHTC_____Android_Phone___0100, USBSTOR\DiskHTC_____Android_Phone___, USBSTOR\DiskHTC_____, USBSTOR\HTC_____Android_Phone___0...}

Manufacturer                : (Standard disk drives)
Name                        : HTC Android Phone USB Device
Manufacturer                : HTC, Corporation
Name                        : My HTC
PNPDeviceID                 : USB\VID_0BB4&PID_0CA2&MI_01\7&323B5&0&23001
PowerManagementCapabilities : 
PowerManagementSupported    : 
Service                     : HTCAND64
Status                      : OK
StatusInfo                  : 
SystemCreationClassName     : Win32_ComputerSystem
A few words of warning....
1. Microsoft don't really like people using "c:\Windows\System32\rundll32.exe user32.dll,LockWorkStation", there are other ways that you can do this
2. Don't put this in your start up folder without testing it.
3. I accept no responsibilities if you break anything :-)


And yes two phones, really

0 Comments

Megapixels

7/1/2013

0 Comments